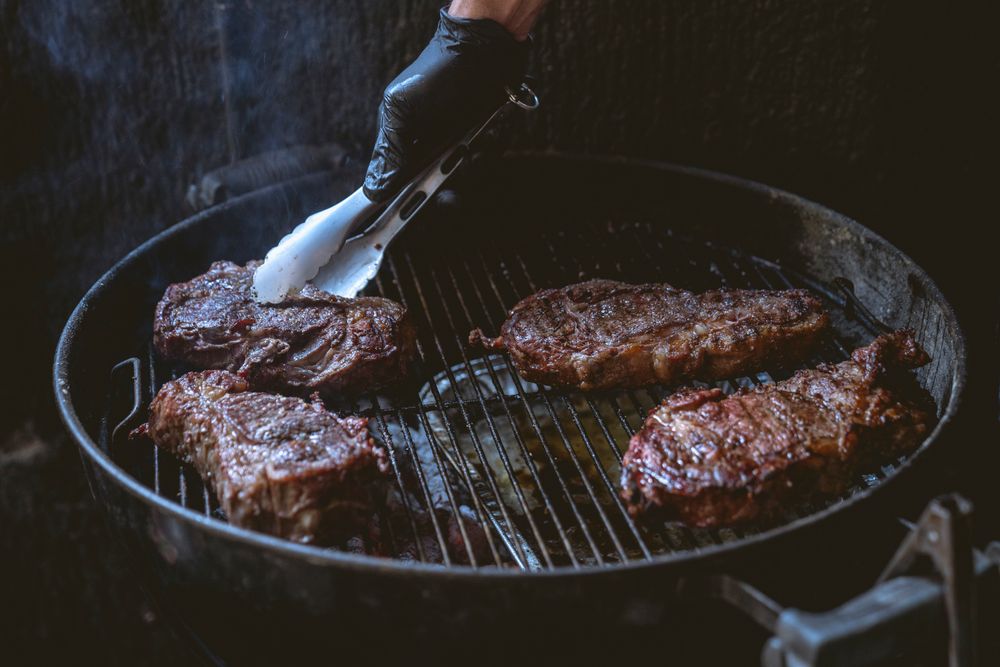
Cook the meat on the indirect side at around 120°C (250°F) until it is roughly -10°C (15°F) below your target, then sear it over direct coals for 60 to 90 seconds a side. This gives an evenly cooked interior with no grey band and a much better crust. Only worth it above 1.25 inches thick.
Step by step
Season and dry the surface
Salt at least 45 minutes ahead, or immediately before cooking. Leave the meat uncovered on a rack in the fridge if you can: a dry surface is essential for the sear at the end.
Build a two-zone fire, cool side around 120°C (250°F)
Bank a modest amount of lit charcoal to one side. You want gentle heat for this phase, not a roaring fire, so start with half a chimney and keep the rest in reserve.
Cook indirect to -10°C (15°F) below target
Meat on the cool side, lid on, vent above it. Probe continuously. For a 55°C (130°F) medium rare steak, pull at 45°C (115°F). This is the phase that does all the actual cooking.
Rest the meat and build the fire
Take the meat off. Add the rest of your charcoal and get a deep, genuinely fierce bed of coals with the lid off and vents wide. Meanwhile the meat sits, and its surface dries further, which helps.
Sear hard, briefly
Pat dry, oil lightly, and sear directly over the coals for 60 to 90 seconds a side. The interior is already at temperature, so this step exists purely to build crust. Watch it constantly.
Rest briefly and serve
Five minutes is enough. Because the meat came up slowly the internal temperature gradient is shallow, so it needs far less resting than a conventionally seared steak.
Why does it produce a better result?
In a conventional sear-then-cook, the outside of the meat sits against a 315°C (600°F) surface while the centre is still cold. Heat travels inward slowly, so by the time the middle reaches medium rare, a thick band underneath the crust has been driven well past it. That is the grey band, and it is proportional to how thick the meat is.
Bringing the meat up slowly in gentle air means the whole interior arrives at target more or less together. The sear then only has to colour the outer millimetre. You also get a better crust, because the surface is already hot and dry when it hits the coals, so it browns immediately instead of spending the first minute boiling off moisture.
When is it not worth doing?
- Anything under about 1.25 inches thick. There is not enough mass for a grey band to form, and the slow phase will overcook it.
- Burgers and other ground meat, which are cooked through anyway.
- Thin cuts like skirt, bavette and flank, which want fast fierce heat and nothing else.
- When you are in a hurry. The reverse sear roughly triples the cooking time of a steak.
Which cuts suit it best?
Thick ribeye, sirloin, T-bone and porterhouse, whole tri-tip, thick pork chops, rack of lamb, and picanha cooked whole. Anything thick enough that the gap between surface and centre is a real problem. It also works well on whole roasts, where it is simply called roasting and then searing.
Common questions
Does searing seal in the juices?
No. This was disproved in the nineteenth century and repeatedly since. Seared meat loses at least as much moisture as unseared meat. Searing is worth doing because the Maillard reaction creates hundreds of flavour compounds, not because it seals anything.
Should I rest a reverse seared steak?
Briefly, around five minutes. The usual reason for a long rest is to let a steep internal temperature gradient even out, and the reverse sear has already avoided creating one.
Can I reverse sear on a small grill?
It is harder, because you need a genuine cool zone and then a genuine hot one. On a small portable, cook indirect with a very small bank of coals, then add a fresh lit chimney for the sear.
Related guides
 Technique
How to Light Charcoal Without Lighter Fluid
There is one right way to light charcoal, it costs about twenty five dollars, and it takes fifteen minutes.
TechniqueHow to Set Up a Two-Zone Fire
One fire, two temperatures, and suddenly a charcoal grill can do everything an oven and a frying pan can do together.
 Technique
The Snake Method: Low and Slow on a Kettle
A line of unlit briquettes, lit at one end, burning along at about an inch an hour. It is the cheapest smoker you will ever build and it is already inside your kettle.